
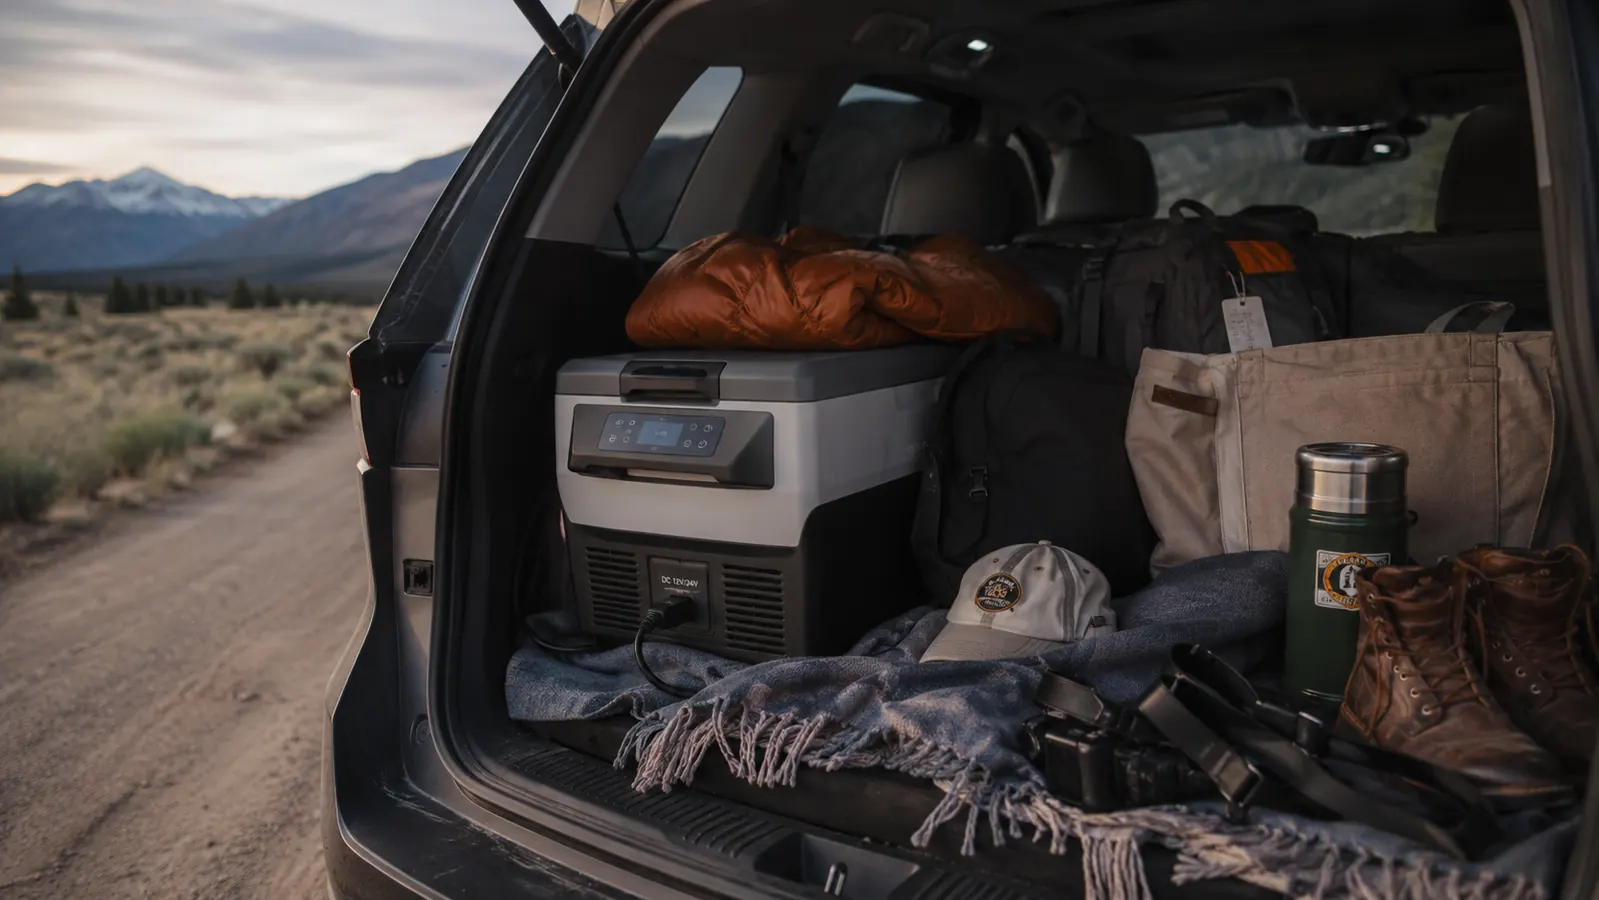
On a four-day drive from Boise to Moab last spring, Rennie and I stopped for gas in Green River and I opened the cooler to grab a sandwich. The bread was sitting in an inch of meltwater, the deli meat had slid to the bottom, and the drinks were still lukewarm even though we'd bought a fresh bag of ice that morning. That's the pattern with coolers on a trip longer than a single overnight. Ice buys you maybe 36 hours before it starts losing the fight, and after that you're either stopping for more ice every day or eating food that's crept up past the 40F mark where the USDA and most food safety guidance says perishables shouldn't sit for long.
The fix isn't a better cooler. It's a different category of gear, a compressor-driven 12V fridge like the BougeRV 23-quart unit we now run on every trip, paired with a packing and power routine that actually holds up over multiple days. I've run the same route enough times in our 2018 4Runner to know what breaks down first, and it's rarely the fridge itself. It's the plan around it. Below is the five-step system we use now, plus what still matters even after you've made the switch away from ice.
Stop budgeting for gas station ice on every leg of the trip
A 23-quart compressor fridge like the BougeRV holds a true 40F or colder for the whole trip, on 12V power while you drive or 110V power at a stop, without a single bag of ice.
Amazon Check Today's Price on Amazon →Step 1: Build Your Cold Chain Before You Load the Car
The night before we leave, I plug the fridge into a wall outlet in the garage using its 110V AC adapter and let it run empty for a couple of hours. That way the interior is already down near its target temperature before a single item goes in, instead of asking the compressor to chill both the air and a stack of room-temperature groceries at the same time while we're also trying to get on the road.
BougeRV lists a 15-minute pull-down from room temperature to 32F. In my own test, loading it from an 82F garage in July, it took closer to 22 minutes to settle at 34F with the lid closed and nothing inside yet. Still fast enough that pre-chilling the night before is really just insurance, not a requirement, but it means the first items you load never see a warm shelf.
Skip ice packs entirely if you can. Instead, freeze two or three reusable water bottles solid the night before and tuck them in as thermal mass. They don't melt into a puddle, and once they thaw they're just cold drinking water instead of a bag you now have to drain and throw away at the next stop.
Shop cold, too. I make our grocery run the morning we leave rather than two days ahead, so the perishables going into the fridge start closer to refrigerator temperature instead of whatever they've been sitting at on a store shelf or in our kitchen fridge with the door opened all week. It sounds like a small thing, but it means the compressor is chilling groceries that start at 38F instead of 65F, which is a much shorter climb back down to the 37F we run it at.
Step 2: Pack in the Right Order, Not Just the Right Container
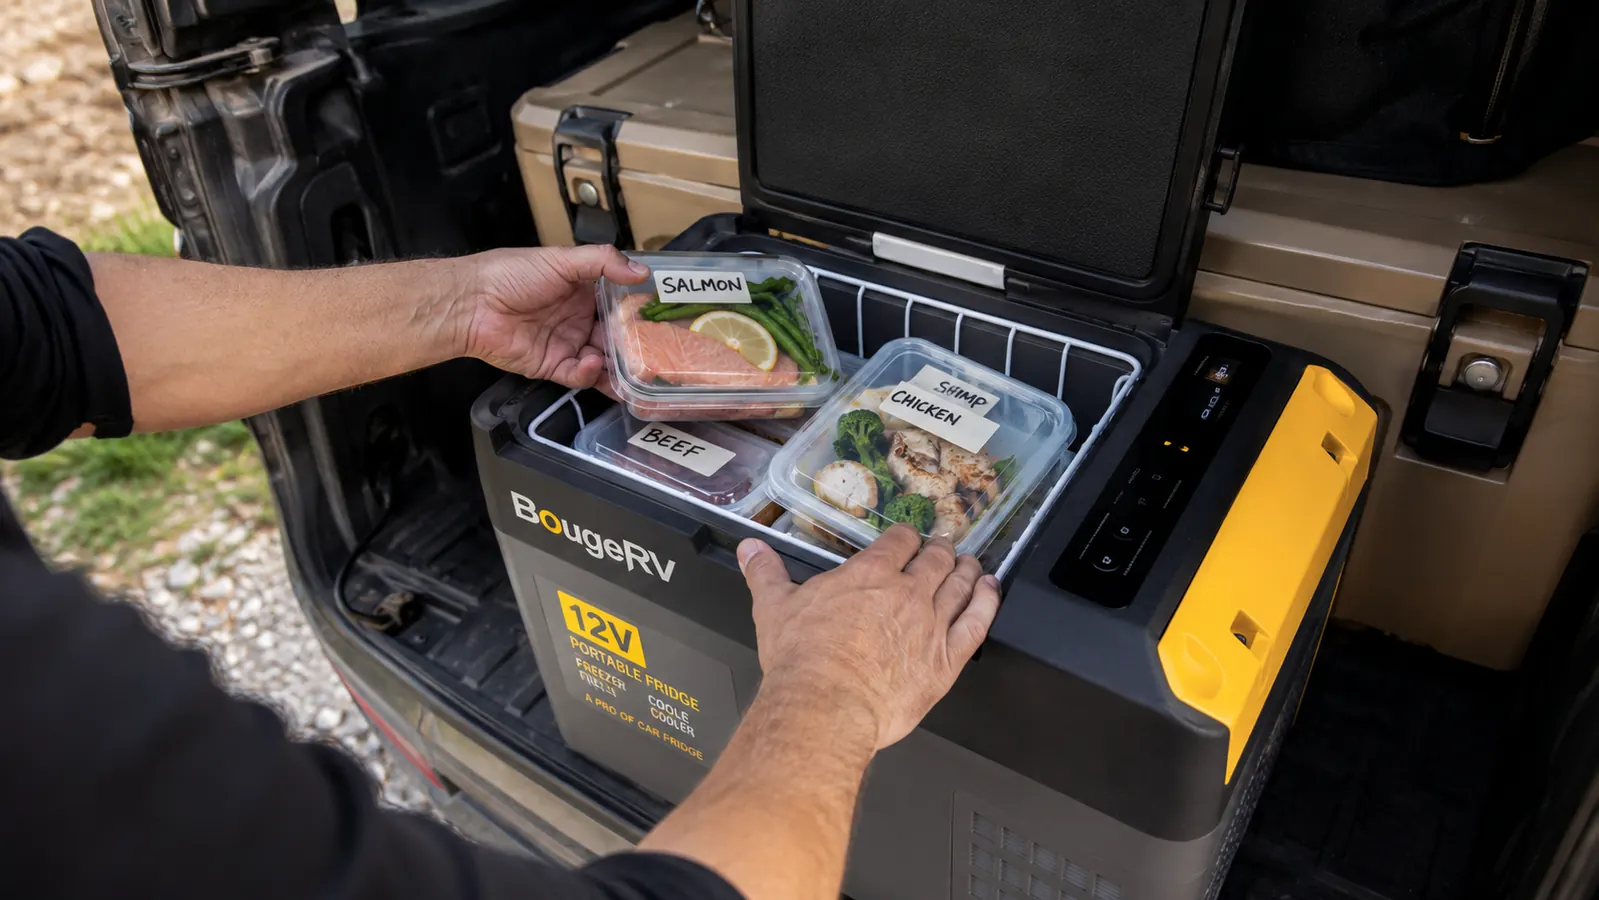
Dense, cold-stable items go on the bottom: raw proteins in a sealed bag, blocks of cheese, anything you won't touch until day two or three. Items you'll actually reach for in the first few hours, drinks, breakfast, snacks, go in the removable basket up top. This sounds obvious until you've dug through a fully packed unit looking for one yogurt cup at a rest stop with the engine off and the lid open for two full minutes.
I organize by day rather than by food type. Day one's meals sit closest to the lid, day three's sit at the bottom. That way each morning we're only ever opening the fridge to remove that day's stack, not rearranging the whole thing. Raw meat always goes in its own sealed container on the lowest shelf, away from anything eaten without cooking first, the same separation rule you'd use in a home fridge.
If you're trying to decide whether a fridge like this is even worth the switch over a good hard-sided cooler, I laid out the actual side-by-side numbers, capacity, weight, and how many days each one holds a safe temperature, in this comparison of the BougeRV fridge against a traditional cooler box. Short version: a cooler wins on upfront cost and simplicity for a weekend trip, and a fridge wins on anything past three days.
One habit that costs nothing: label the containers by day with a strip of painter's tape and a marker before you leave the house. Rennie started doing this on our third trip after we'd spent ten minutes at a rest stop trying to remember which container was tonight's dinner and which was tomorrow's lunch. It takes five minutes at the kitchen counter and it means the fridge only gets opened long enough to pull one labeled stack, which matters more than people expect once you're a few days in.
Step 3: Wire Your Power Source So It Doesn't Drain Your Starter Battery
The 4Runner has one 12V accessory outlet in the center console, rated for continuous use while the engine runs. The BougeRV unit pulls somewhere between 45 and 58 watts running, with a brief higher draw when the compressor kicks on, which in practice is nothing your alternator can't handle while driving. The problem shows up when the engine is off overnight and the fridge is still plugged into that same outlet.
Most 12V compressor fridges, this one included, have a low-voltage cutoff you can set to Low, Medium, or High. Low will run the fridge until your battery is nearly dead, which is exactly what you don't want if you're parked at a trailhead. I keep ours set to Medium, which cuts power once the vehicle battery drops to a safer resting voltage, sacrificing a bit of fridge runtime to make sure the 4Runner still starts in the morning.
For overnight stops where we're not near an outlet, I don't run the fridge off the vehicle battery at all. Either it goes onto a small dedicated battery box we keep for camp use, or we accept a few hours without active cooling, since a well-insulated 23-quart box holds its temperature for a while on its own once it's already cold. The one thing I won't do is leave it wired straight to the starter battery all night and hope for the best. That's how you end up calling for a jump at a gas station with no cell signal.
On the driving days themselves, I don't worry about any of this. The alternator is doing the work, not the battery, so the fridge just runs off the 12V outlet the whole time the engine's on, the same as it would in any car. The low-voltage cutoff setting only matters for the hours the vehicle is parked with the engine off, which on a typical trip for us is overnight and maybe an hour or two at a trailhead or a scenic stop.
Step 4: Hold the Line at 40F and Stop Opening the Lid Constantly
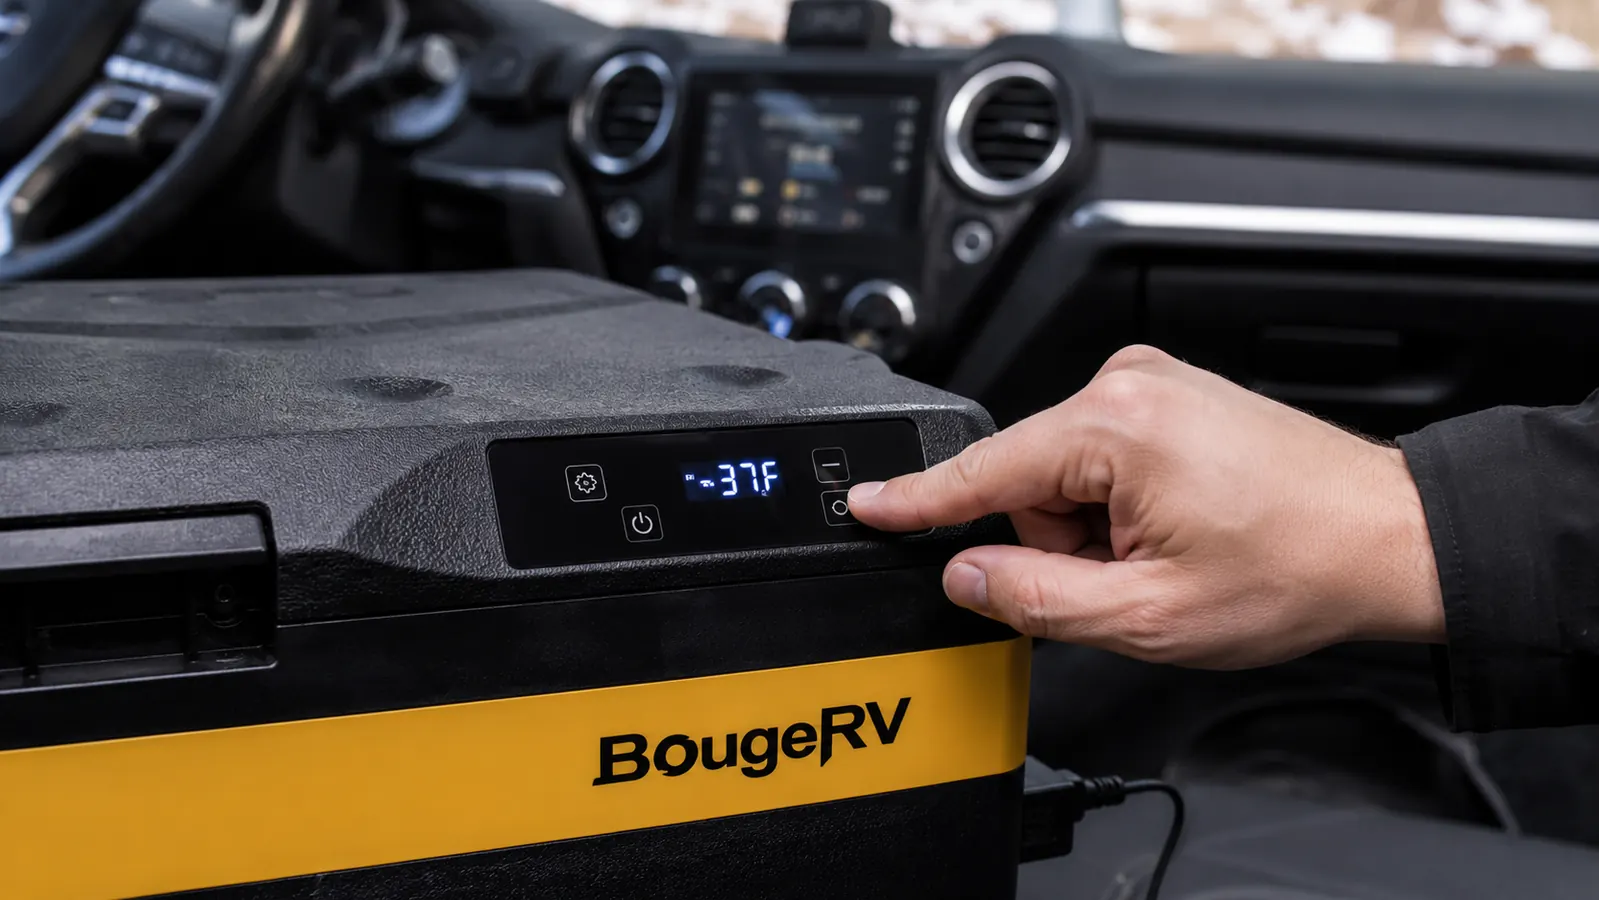
40F is the commonly cited line where perishable food starts moving into the range where bacteria grow faster, and it's worth treating as a real target rather than a suggestion, especially on a trip where you can't just walk to a fresh fridge if something goes wrong. The BougeRV's digital display makes this easy to check without guessing, I glance at it every time we stop for gas and I set the actual thermostat a couple degrees below 40F, usually 37F, so there's a buffer if the lid is open longer than planned or the unit is working harder on a hot afternoon.
The single biggest thing that pushes internal temperature up isn't the outside heat, it's an open lid. Every time you dig around looking for something, warm air replaces the cold air that took the compressor twenty minutes to build up. This is the real payoff of the day-based packing order from Step 2: you're not rooting around, you're pulling out one labeled stack and closing the lid within a few seconds.
I check the display twice a day, once in the morning before we start driving and once when we stop for the night, and I keep a small notepad in the glovebox where I jot the reading down. It's not scientific, but after a few trips you learn what's normal for your unit and what isn't. If the display is reading 44F an hour after a gas stop where the lid was open for ten seconds, something's off, a door seal not fully closed, the vents blocked by an item packed too high, and it's worth catching that before the next stop rather than after a full day of food sitting warmer than it should.
Step 5: Handle Overnight Stops and Shore Power Without Losing Your Cold
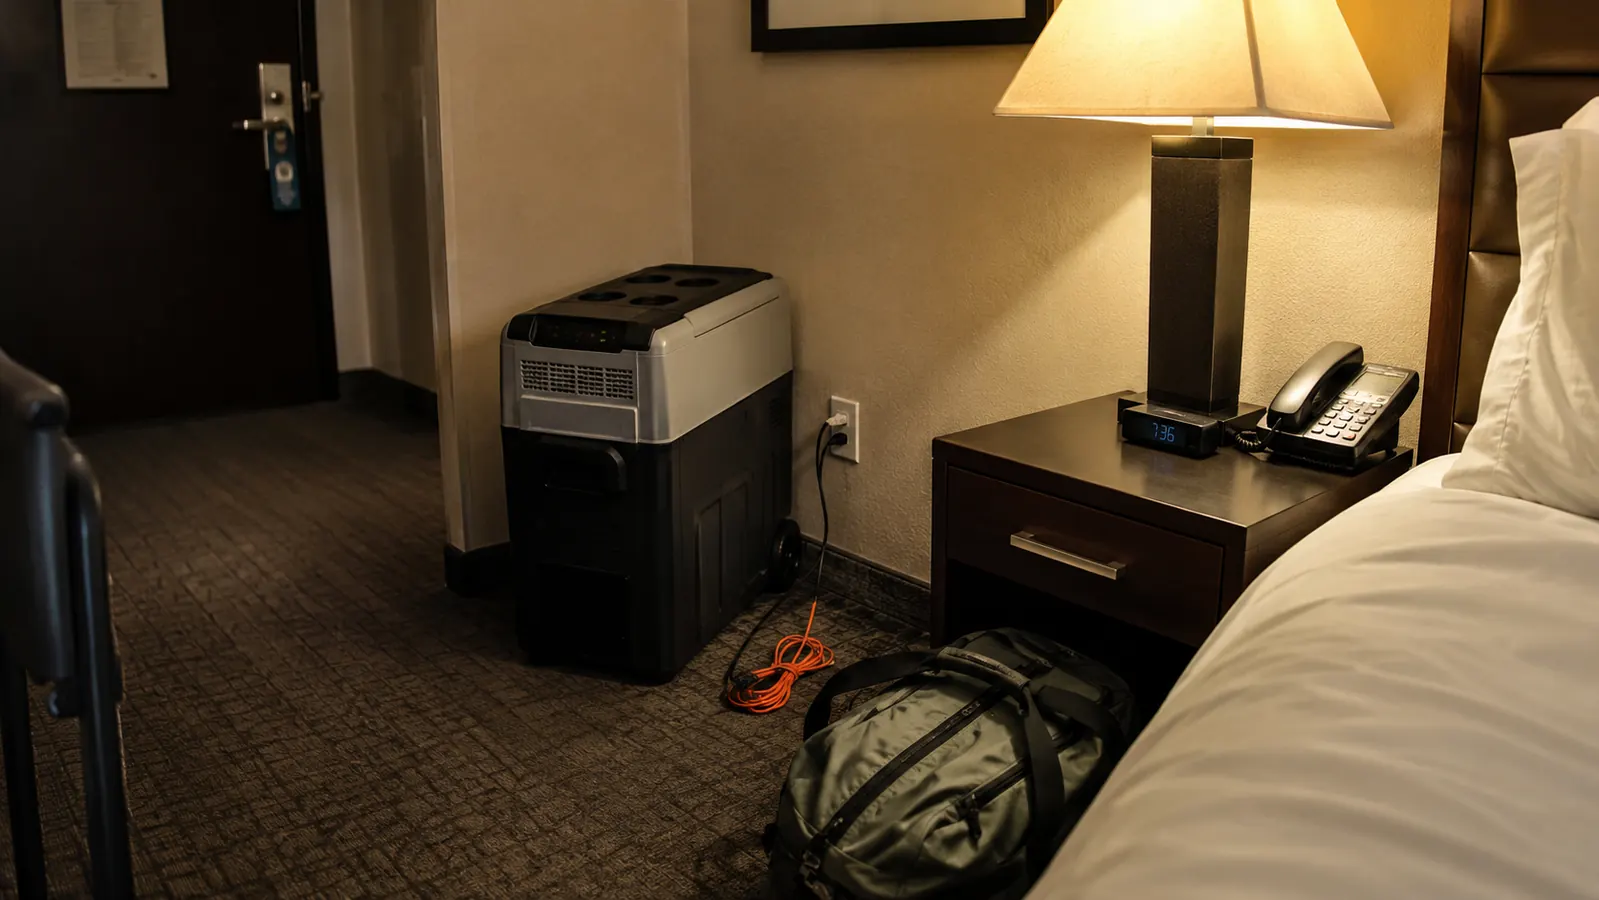
When we stay at a hotel, the fridge comes inside and gets plugged into a wall outlet using the AC adapter and a short extension cord, usually parked near the door where it's easiest to grab in the morning. This is the point where a compressor fridge pulls ahead of a cooler in a way people don't think about until they're standing in a hotel parking lot at 11pm. You're not buying ice from a machine that's half broken and overpriced, you're just plugging into the same outlet as your phone charger.
For daytime stops, whether it's a scenic overlook or a rest area, park in the shade when you can and avoid leaving the fridge sitting anywhere it gets direct sun through a window. A unit baking in direct sunlight has to work harder to hold its set temperature, which shortens how long it can run comfortably on limited power. I keep a lightweight reflective cover over ours on longer parked stretches, more for the compressor's sake than anything else.
The transition itself takes about thirty seconds: unplug from the 12V outlet, carry the fridge inside on its handle, plug into the wall. There's a brief gap with no active cooling, but a unit that's already holding 37F doesn't warm up meaningfully in the time it takes to walk from the parking lot to a hotel room. The mistake I made early on was leaving it in the car overnight in a hot parking lot instead of bringing it in, which meant the compressor spent all night fighting a warm cargo area instead of resting on wall power like it should have.
What Else Helps
A small insulated tote for the day's grab-and-go items cuts down on how often the main fridge gets opened, since drinks and snacks can live there instead. Keep a spare fuse for the 12V plug in the glovebox, they're cheap and it's the first thing to check if the fridge stops pulling power mid-trip. And if you're still on the fence about whether this is worth doing over your current cooler setup, I've now run this exact unit across enough multi-day trips to know what actually wears out and what doesn't, which I get into in my longer-term review of the BougeRV fridge.
Don't bother pairing the fridge with ice packs as a backup system, in my experience it defeats the purpose. The whole appeal is not managing melt, and a soggy ice pack in an otherwise dry compressor fridge is just one more wet thing to dry out at the end of the trip. If you want backup cold storage for a cooler you're using alongside the fridge for drinks or overflow, that's a separate decision, and it's one I'd only make after reading the comparison above rather than guessing.
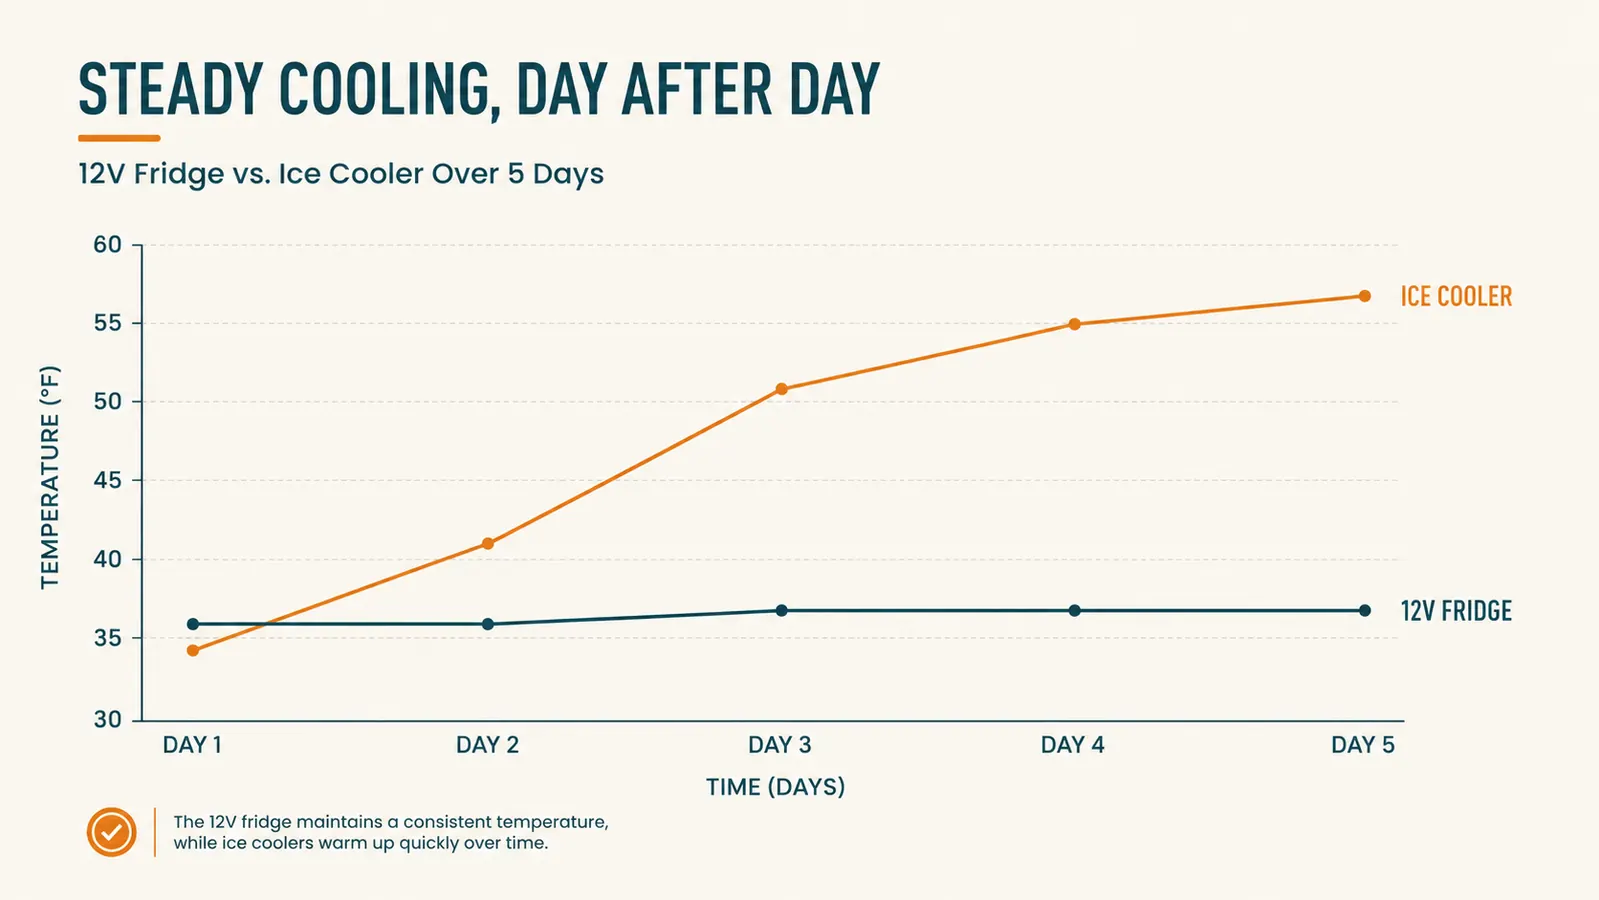
A fridge that holds a steady 37F for six straight days without a single ice run beats a cooler that's colder for the first two hours and warmer than your kitchen counter by day three.
Build the system once, stop thinking about ice for every trip after this one
The BougeRV 23-quart runs on 12V in the car and 110V at a stop, holds a true 40F or colder, and skips the meltwater and the daily gas station ice run entirely.
Amazon Check Today's Price on Amazon →